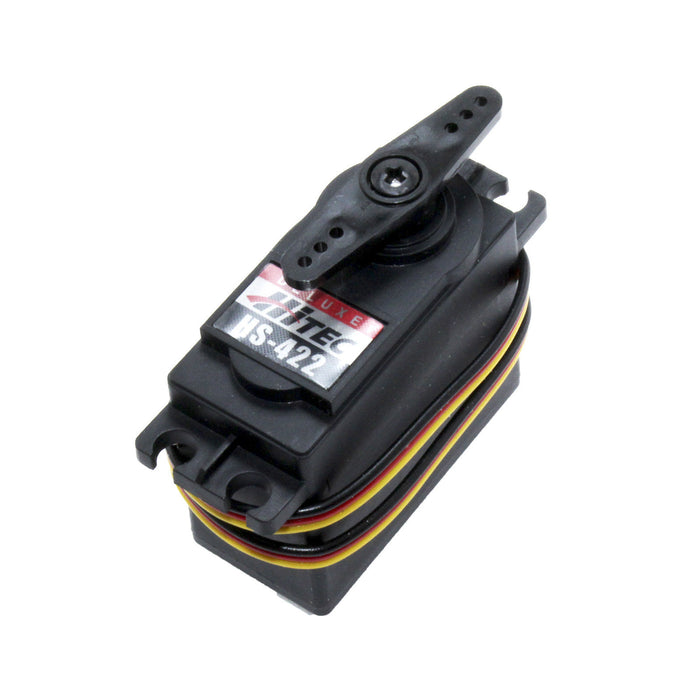
AM Servo Shifter Upgrade Package

This product is currently unavailable for purchase.

This kit includes the parts needed to upgrade an AM Shifter (or AM Shifter Gen. 2) so that it can be shifted with a servo. Overall weight: 0.8lbs. Included Hardware: One - Hi-Tech servo (HS...Read More

0 reviews

Write a Review

View Full Details

Product Overview

This kit includes the parts needed to upgrade an AM Shifter (or AM Shifter Gen. 2) so that it can be shifted with a servo.

Overall weight: 0.8lbs.

Included Hardware:
  • One - Hi-Tech servo (HS-422HD)
  • One - servo arm
  • One - servo shifter
  • One - 3/16" id x 1/2" long oillite flange bushing
  • Three - 3/16" id washers
  • One - 3/16" dia shoulder screw
  • Two - #4-40 screws
  • One - modified round servo horn
  • Two - #8-32 mounting screws and nylock nuts

Assembly Instructions:

  1. Remove Cylinder Shaft by unscrewing 2 - #10-32 nylock nuts
  2. Remove pneumatic cylinder rod from Shift Block
  3. Step 3: (this is the most difficult step, so take your time) Tap the 3/32" dia roll pin out of the dog gear, using a 0.080"-0.090" diameter drill bit (or a nail or pin of similar size). DO NOT tap it all the way out. It is a 1" long pin. Tap it out so that 3/4" to 7/8" of the pin is sticking out the opposite side of the dog. Your shifter shaft is now free. Remove your drill bit (or nail or pin).
  4. Pull out the shft shaft from the bearing. Save these parts if you ever wish to return to pneumatic shifting.
  5. Insert the new Servo Shift Shaft into the same hole.
  6. Use the same drill bit (or nail or pin) to align the cross hole in the Servo Shift Shaft. Re-insert the drill bit into the vacant roll pin hole in the dog and through the cross hole on the Servo Shift Shaft. (if you are using the drill bit, insert the pointy end)
  7. Using a small hammer (a small brass hammer is best), tap the 3/32" roll pin back into place. You will need to apply light pressure to the drill bit as this is taking place, to keep the Servo Shift Shaft in an aligned position. Continue tapping until end of roll pin is flush with outside face of dog gear.
  8. Mount Hi-Tech servo to two mounting holes on side plate*, positioning it so that the Servo Fork captures the oillite

Specifications

  • Product Lifecycle: discontinued

Documents

Don't see what you need?

Returns

Returns are not accepted for this product.

Top of Page